Bigelow is only using the "Weekly Timesheet" option for inputting time in Netsuite. Do not use the "Track Time" option.
Step 1. Navigate to the Weekly Timesheet page
Timesheets should be completed from the "Employee Center" role in order to access paystubs.
Log into netsuite.bigelow.org and make sure that Employee Center is selected in the top-right corner (under your name)
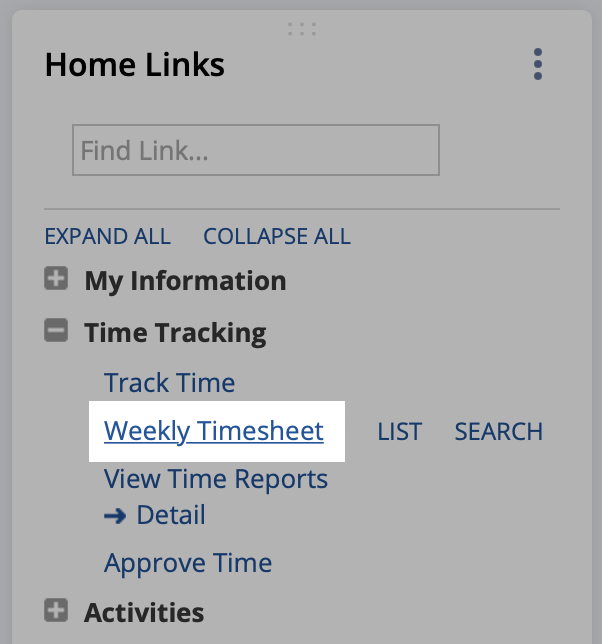
From the employee center role, locate the Home Links area in the left sidebar
Click the + next to Time Tracking to expand the section
Click Weekly Timesheets
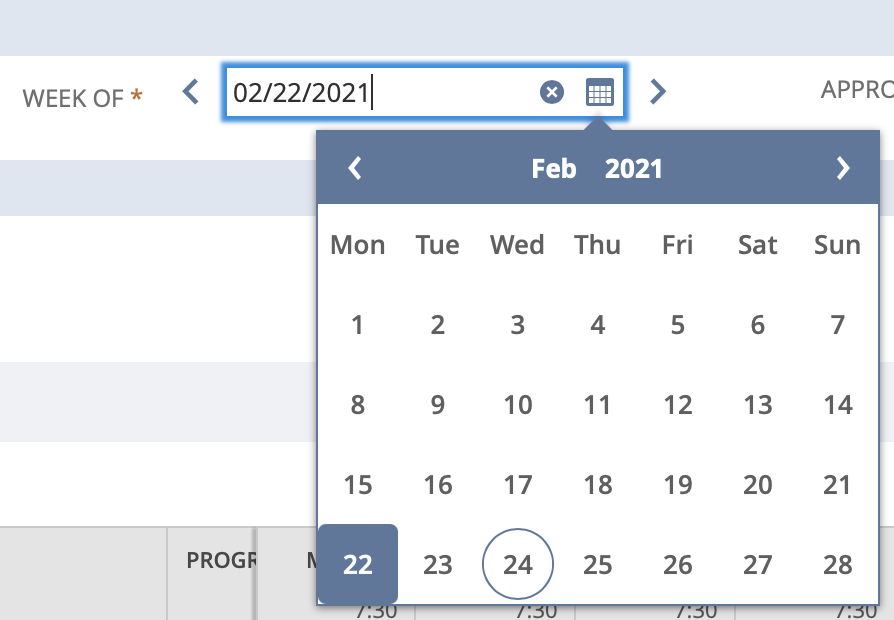
Timesheets are completed one week at a time. Ensure you have selected the appropriate week in the top center of your screen.
Note weeks will always begin on a Monday as BLOS payroll runs Monday - Sunday. Click on the calendar icon in the text box to show the date picker.
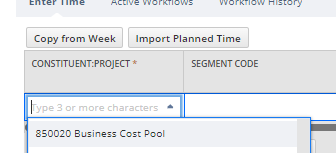
Select your project from the CONSTITUENT:PROJECT dropdown
Note: your projects are based on the Project > Resources list that is specific to who is eligible to charge projects. For access to project changes please contact finance@bigelow.org, HR, or John McKown (Grants/Project Administrator) for immediate assistance. Once you select your project, accounting values will auto-populate. If they do not populate, input the project number (i.e. 850020) in the segment code box to autocomplete the accounting information.
Enter your payroll item. Typically "salary" if you are salaried employee and "hourly" if you are an hourly employee. If you are selecting (vacation, sick, salary, etc. use the applicable pay code).
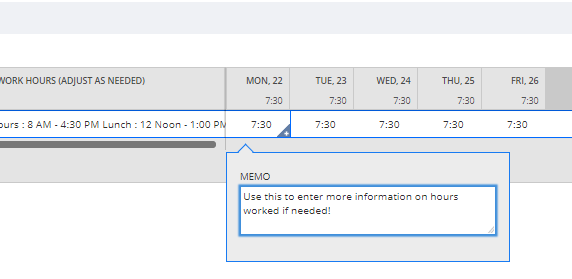
Enter your hours: you will typically enter "7.5" per day for a normal Bigelow workday.
Note that the format will default to 7:30 for 7 hours and 30 minutes. The memo field shown will default to standard work hours. Please adjust as necessary. You can also hover over the bottom right of one of the time entry cells to reveal a + arrow which, you can use to annotate actual hours worked by day, if needed. In the absence of you providing additional detail, your submission of your timecard says that you worked according to the note that is there by default.
If you need multiple lines, click anywhere in the timesheet data cells to reveal the "Add row" button. Add as many lines as needed (see example below).
Note the projects and payroll items need to match.
Navigate to the next week on your timecard and repeat your actions.
If you want to copy time from a previously entered week you can use the "copy from week" function on the top left of the time card and select the week you want to copy from.
 Note: your projects are based on the Project > Resources list that is specific to who is eligible to charge projects. For access to project changes please contact finance@bigelow.org, HR, or John McKown (Grants/Project Administrator) for immediate assistance. Once you select your project, accounting values will auto-populate. If they do not populate, input the project number (i.e. 850020) in the segment code box to autocomplete the accounting information.
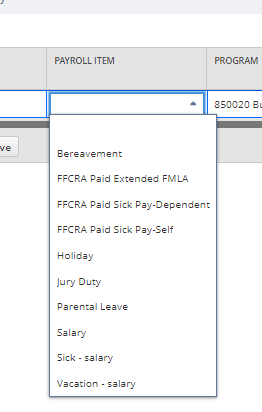
 Note the projects and payroll items need to match.