General
Best Practices
Event Procedure
Helpdesk Request Form
Lab Closure Procedure
Links
Resource Drive Conventions
Resource Map
Shipping (FedEx)
Shipping (International)
Suggestion Box
Support Article Guidelines
Welcome
Information Technology
Email & Calendar
Add Calendars to iPhone
Calendar Resources
Confidential emails
Create a Shared Calendar
Create an Email Group
Email Filters & Rules
Email Groups
Email Headers
Email Signatures
Google 2-Step Verification
Google Calendar Overview
Phishing
Schedule emails
Staff Minus One Emails
Using Outlook with Gmail
Yubico Security Keys
Print & Fax
Software
1Password
Adobe Acrobat DC
Adobe Creative Cloud
ArcGIS
Colby VPN
Combine PDFs in Adobe Acrobat
Excel Trust Settings
Install Falcon Antivirus
Microsoft Office
Microsoft Office Runtime Error Fix
Mosyle Mac Enrollment
Raiser's Edge
Slack
Software Resources
Uninstall OpenVPN
Windows 10 - Restore from backup
Updates
2020 December - email name spoofing
2020 October - COVID resources
2021 December - WiFi
2021 January - Zoom recording + private chat
2021 March - NetSuite Google authentication
2021 March - VPN Upgrade
2023 - Zoom Updates
2024 May - VPN SSO
Account Access
Artificial Intelligence
DNS
Data Storage and Computer Backups
Filling PDFs
Google Drive
HPCC and Storage Proposal Information
Intercom
Laptop Recommendations
Loaner Hardware
Migrating data from Storage to Google Drive
Passwords
Phones
Restoring Files
Storage
VPN
Vendor Access
Website Request
WiFi
Zeiss Digital Classroom
HR & Payroll
Paid Time Off
Payroll Overview & FAQ
Personnel Offboarding
Personnel Onboarding
Timesheet Approval (supervisors)
Timesheets
Facilities
Finance
Admin
Budget & Reports
Invoicing
Policies & Procedures
Advancement Entry of Donations and Pledges
Corporate Traveler / Melon
Gas and Cryo-Supply Ordering Process and Form Link
Purchasing Flowchart - for staff reference
Purchasing Policy
Vendors Exempt from Purchase Orders
Proposals
Purchase & Expense
Bill/Invoice Approval
Creating a Bill to be Paid
Equipment Capitalization Help
Expense Report
Expense Report (example)
Non-Employee Reimbursement
Purchase Order
Purchase Order (example)
Purchase Order (supplemental)
Recurring Purchase Order (SRS)
Amazon.com
Approval Reminders
Business Office Orientation
Capital One - Corporate Credit Card
Customize Dashboard
Dashboard (SRS)
NetSuite FAQ
NetSuite Login
NetSuite shortcuts
Revenue Flow Chart
StaplesAdvantage.com
Workshop, Training Projects, and Participant Support Help
Computing
Software
AAI Calculation
ANI Calculation
AlphaFold
Anvi'o
Conda environments
Jupyter notebook
Prokka
RStudio
dada2
sag-mg-recruit
Job management
Charlie Overview
Connect to Charlie
Edit with VS Code
Getting Started
Monitor jobs
Software modules
Transfer files
Zoom
Closed Captions
Join Teams or WebEx meeting from a Zoom Room
Schedule a Zoom Meeting
Screen Share (Dummy HDMI)
Screen Share (Presenter Mode)
Sign Up and Download Zoom
Zoom Overview
Zoom Room Instructions
Zoom Room: Alfond Room
Zoom Room: Commons
Zoom Room: Conference Rooms
Zoom Room: Forum and Classrooms
Zoom Room: Sage Meeting Room
Zoom Room: Teaching Laboratory
- Home
- Information Technology
- Vendor Access
Vendor Access
Updated
Setup 2-factor authentication
If this is your first time setting up the new VPN server, you will need to configure 2-factor authentication. If you re-install the VPN at a later date or on another computer, you do not need to repeat this step.
- Go to https://openvpnvendor.bigelow.org
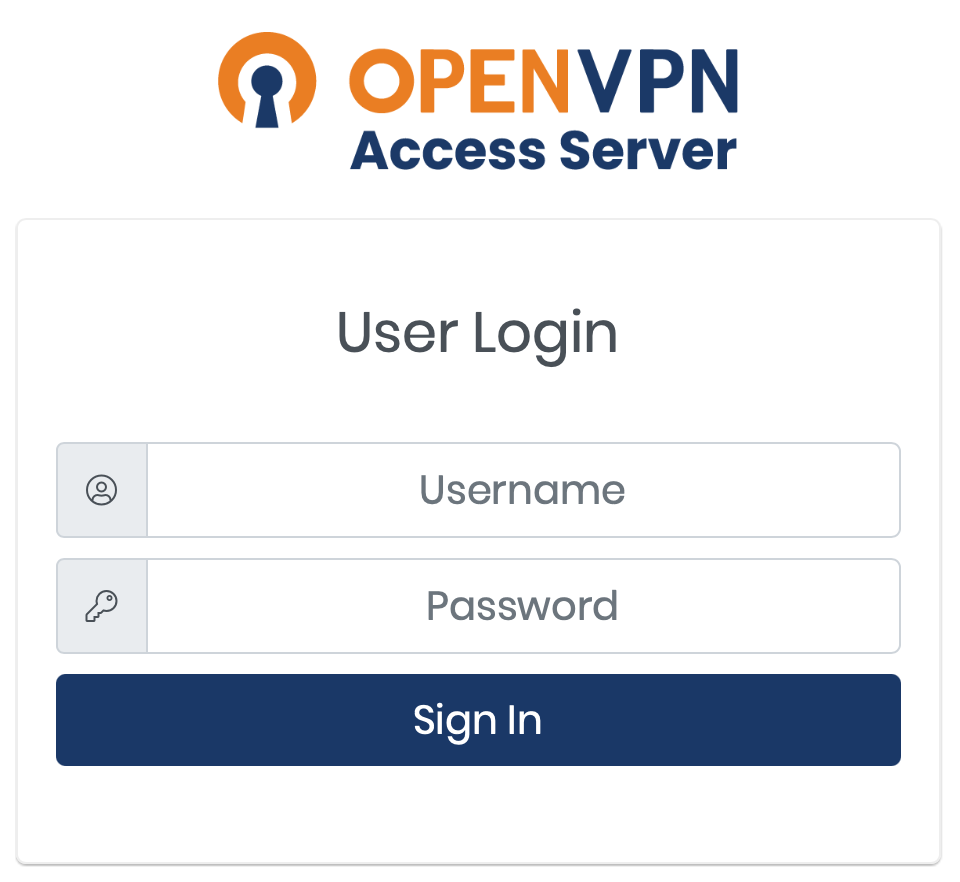
- Enter your username and password
- If this is your first time logging into the new server, you will be asked to set up two-factor authentication.
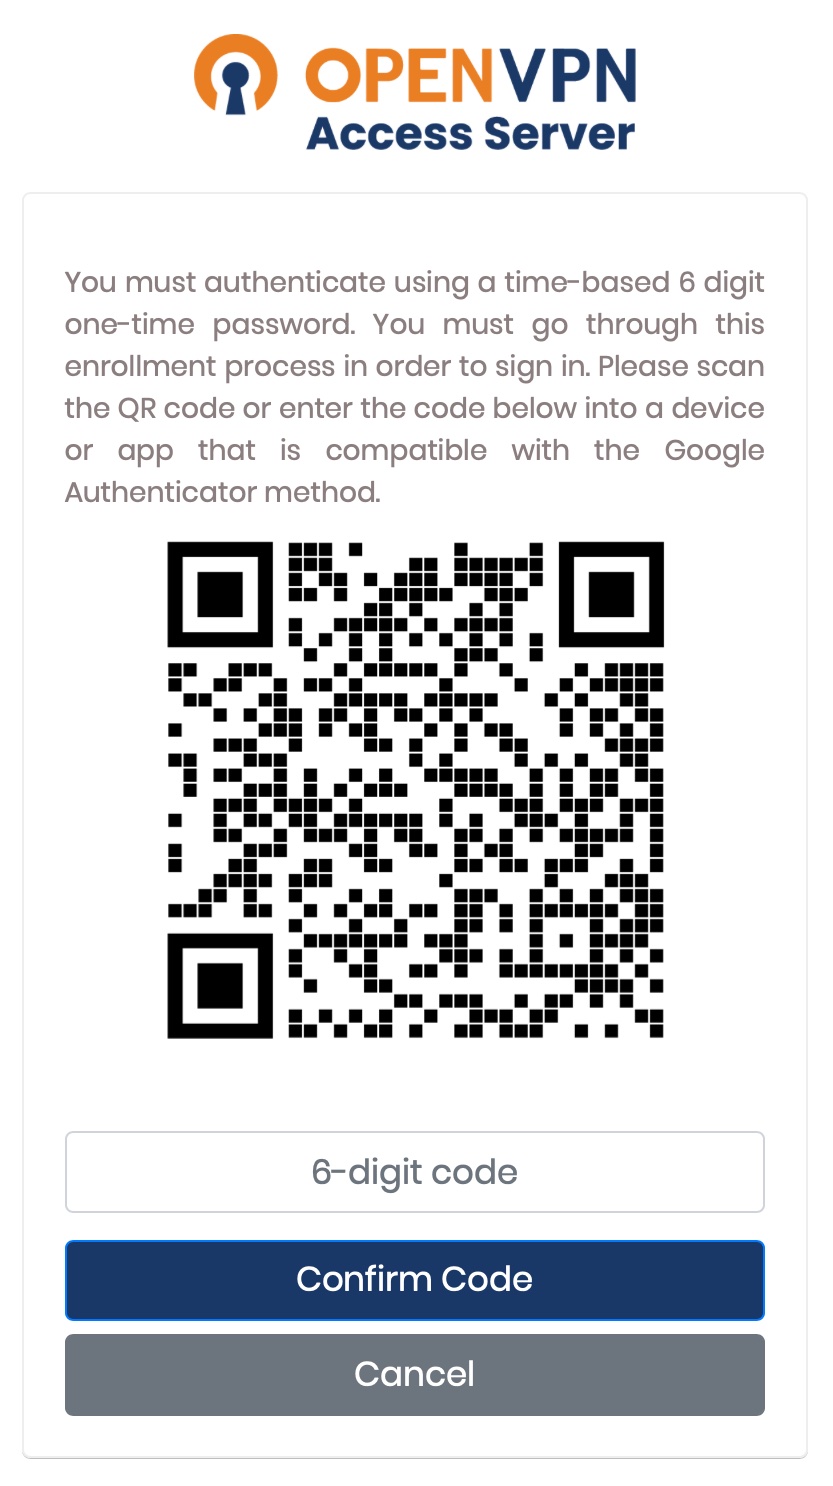
- Install and open the Google Authenticator application on your phone. You can use 1Password instead - follow these instructions
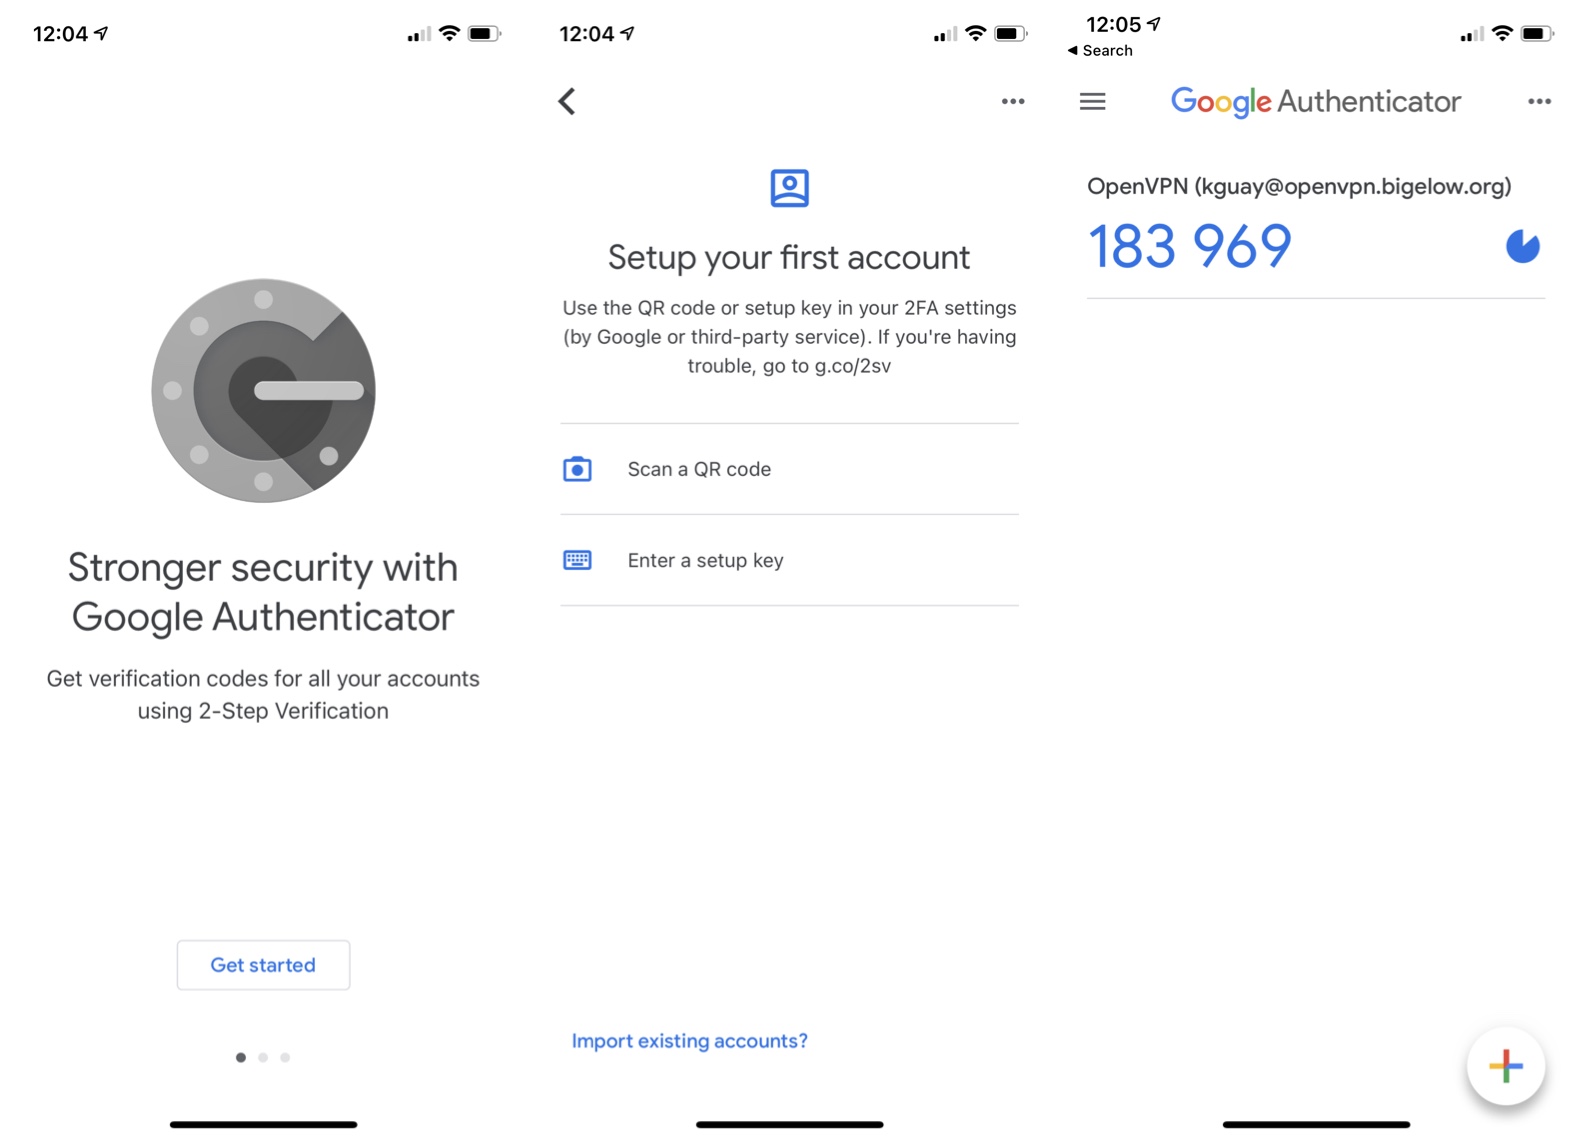
- Click Get started
- Click Scan QR code
- Point the phone's camera at the QR code on your computer screen
- You should now see a six-digit number that changes every 20 seconds
- You will need the number each time you connect to the VPN. This prevents hackers from logging into the VPN using a stolen password.
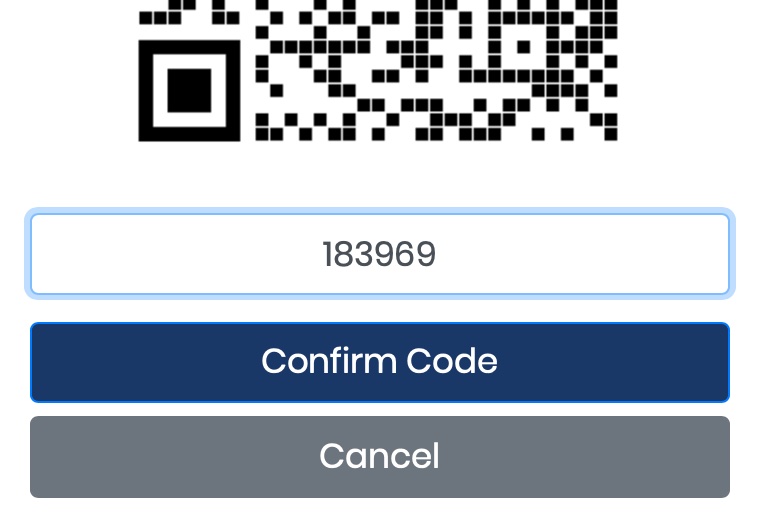
- Enter the six digit code into the text box below the QR code and click Confirm Code
Install the VPN client
- Download the macOS or Windows VPN client
- Run the installer package.On Windows 10, if you see a "Windows protected your PC" alert, click More info and then Run anyway
- Open a web browser and log into openvpnvendor.bigelow.org, click on “Yourself (user-locked profile)”
- When it finishes downloading, click the file to open it to import your profile
- Enter your username and password
- Enter your 2-factor authentication code from Google Authenticator
Save your password (optional)
OpenVPN can save your username and password, only prompting you for the 2-factor authentication code when you connect.
- Open the OpenVPN application
- Click the pencil (edit) icon next to the profile name
- Check the "Save password" box
- Enter your password
- Click Save in the top-right corner
Connect to the VPN
- Launch the OpenVPN application
- Click the slider next to the OpenVPN profile and enter your username & password (if not saved) and 2-factor authentication code from Google Authenticator when prompted.